Espresso
How to Steam Milk at Home: Microfoam for Lattes and Flat Whites
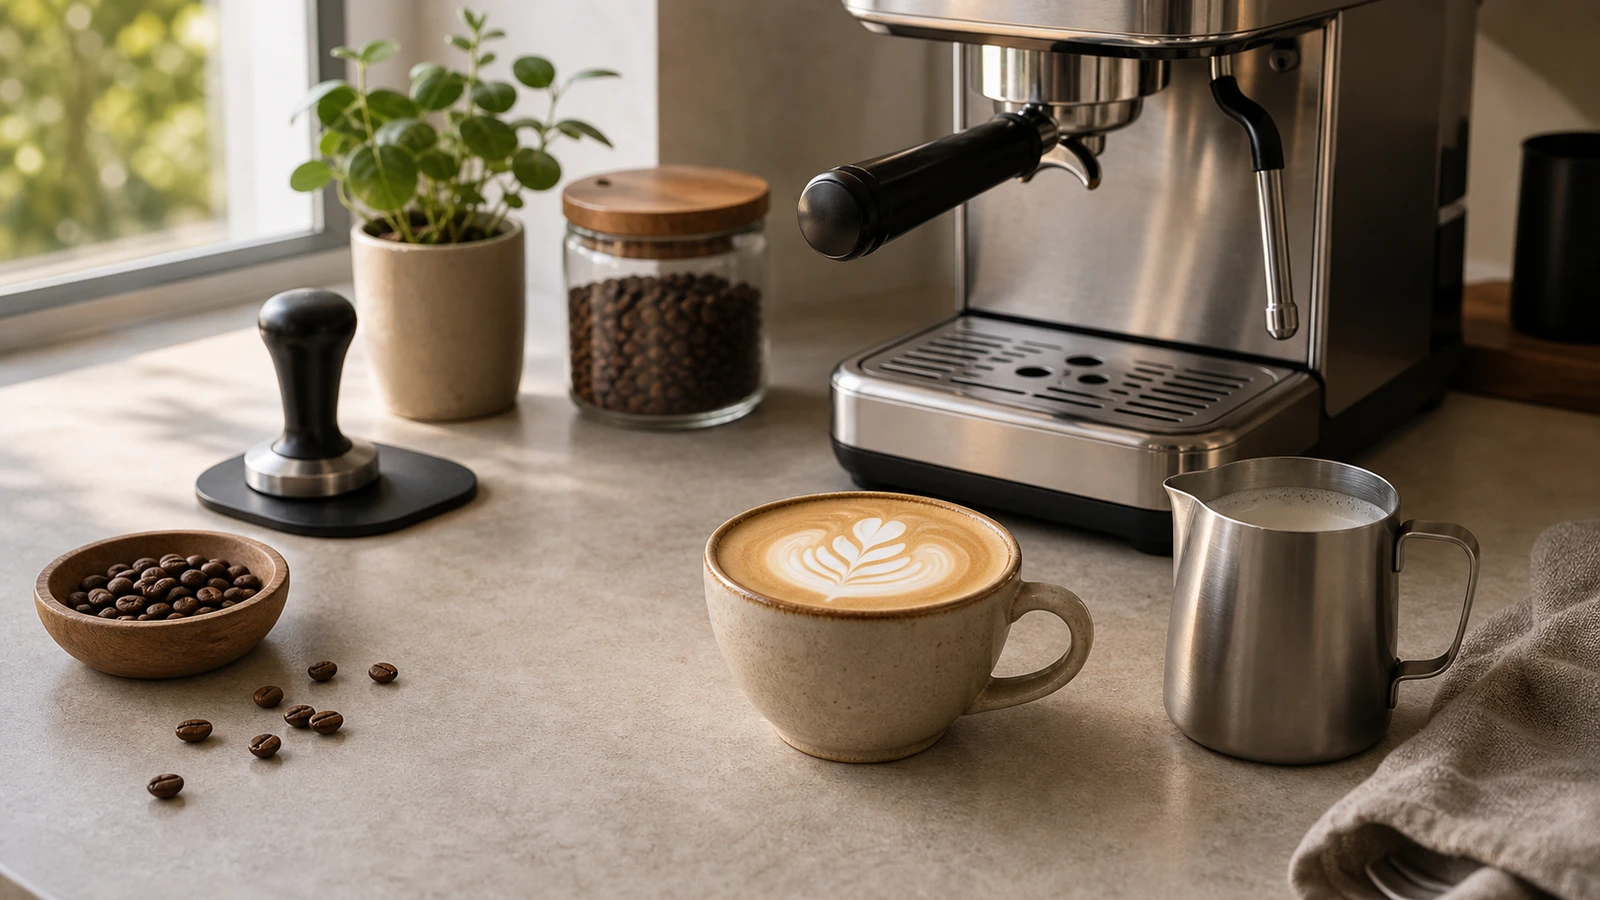
Silky microfoam on your home espresso. The physics, the technique, and the common mistakes. No barista school required.
Microfoam is the silky, glossy steamed milk that layers into espresso for lattes, flat whites, and cappuccinos. Done right, it’s paint-like — thick but pourable, with tiny bubbles too small to see. Done wrong, it’s either watery espresso-milk or stiff dry foam.
The technique has two phases — stretching and texturing — and learning the transition is the only thing separating beginner milk from cafe- quality milk.
What microfoam actually is
Microfoam is milk with millions of tiny air bubbles (under 0.5mm each) suspended evenly throughout. The bubbles are small enough that they don’t separate from the liquid milk — the texture is uniform, glossy, and paint-like.
Big bubbles = dry foam (the kind on a traditional cappuccino). No bubbles = flat steamed milk (the kind on a caffe latte sometimes). Tiny bubbles mixed into liquid = microfoam (the kind you want for art and flavor).
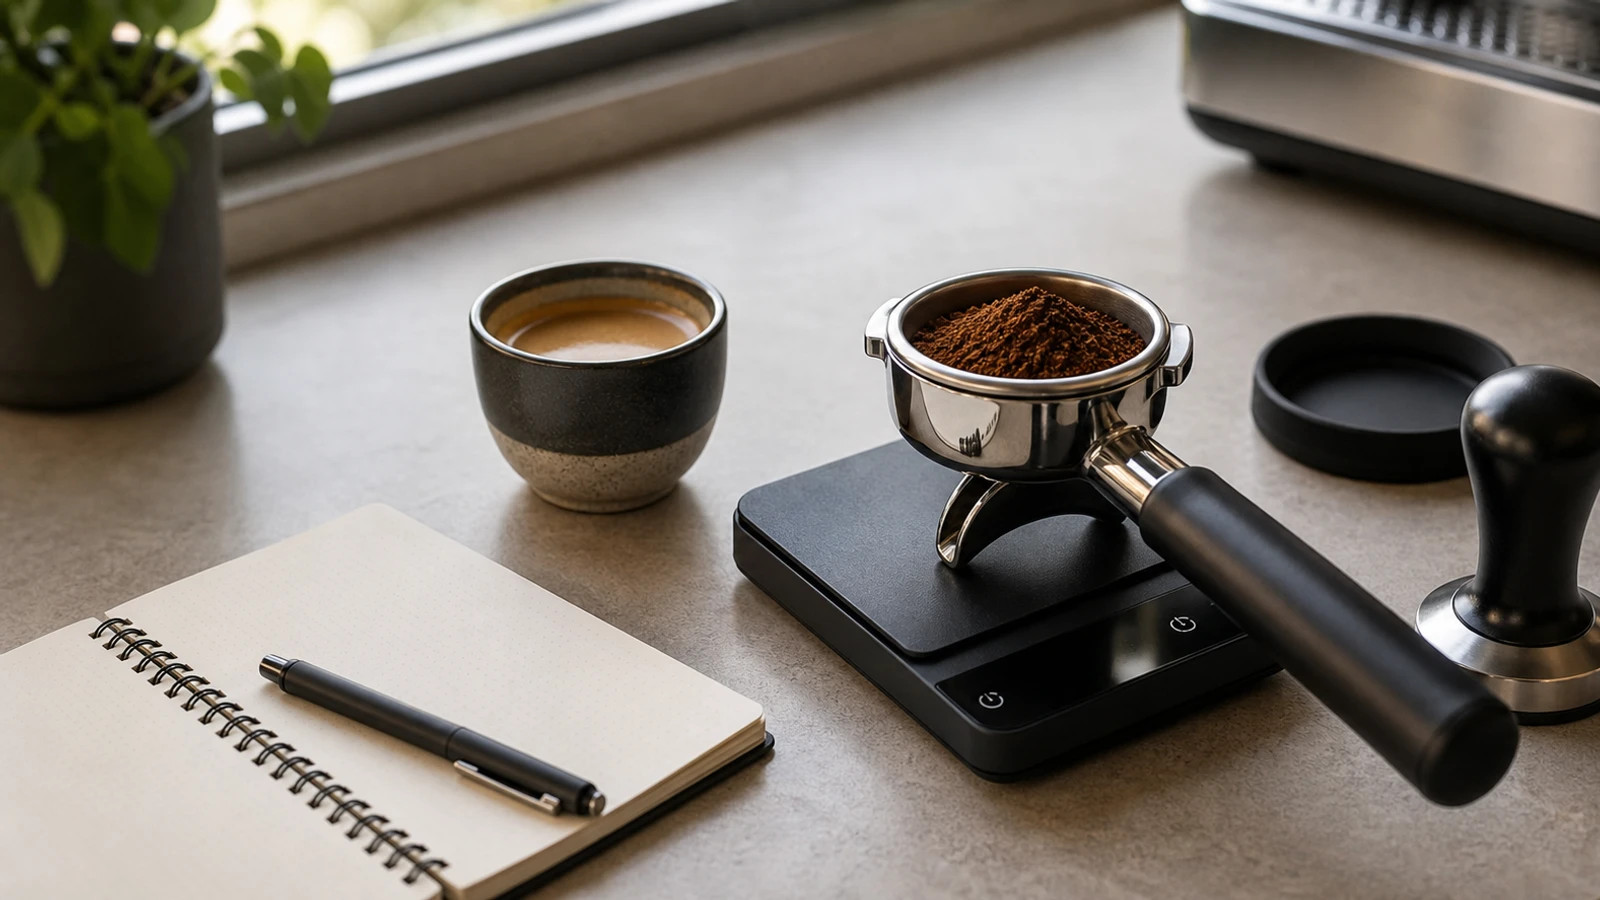
Equipment
Minimum
- Espresso machine with steam wand — the cheaper the machine, the less steam power (see troubleshooting below).
- 12oz stainless milk pitcher — $15. Get one with a sharp spout for latte art.
- Thermometer — $10 digital probe or instant-read. Essential for beginners.
- Cold whole milk — fresh from refrigerator.
Optional
- Milk frother pen (for machines without steam wand) — $20. Makes decent foam but can’t match a real wand.
- Jug with weight markers — helps consistency.
The technique, step by step
Step 1: Prep
- Pour cold milk into pitcher, filling 1/3 to 1/2.
- Purge steam wand (let steam blast for 2 seconds to clear water).
- Submerge wand tip just below milk surface.
Step 2: Stretching (create foam)
- Turn steam on full.
- Position wand tip just below milk surface. You should hear a soft “ssss” or “ch-ch-ch” sound — that’s air being incorporated into milk.
- Continue for 3–5 seconds. Watch the milk volume grow by about 25%.
- Stop stretching when milk reaches ~100°F (38°C). After this temperature, milk can’t incorporate more air.
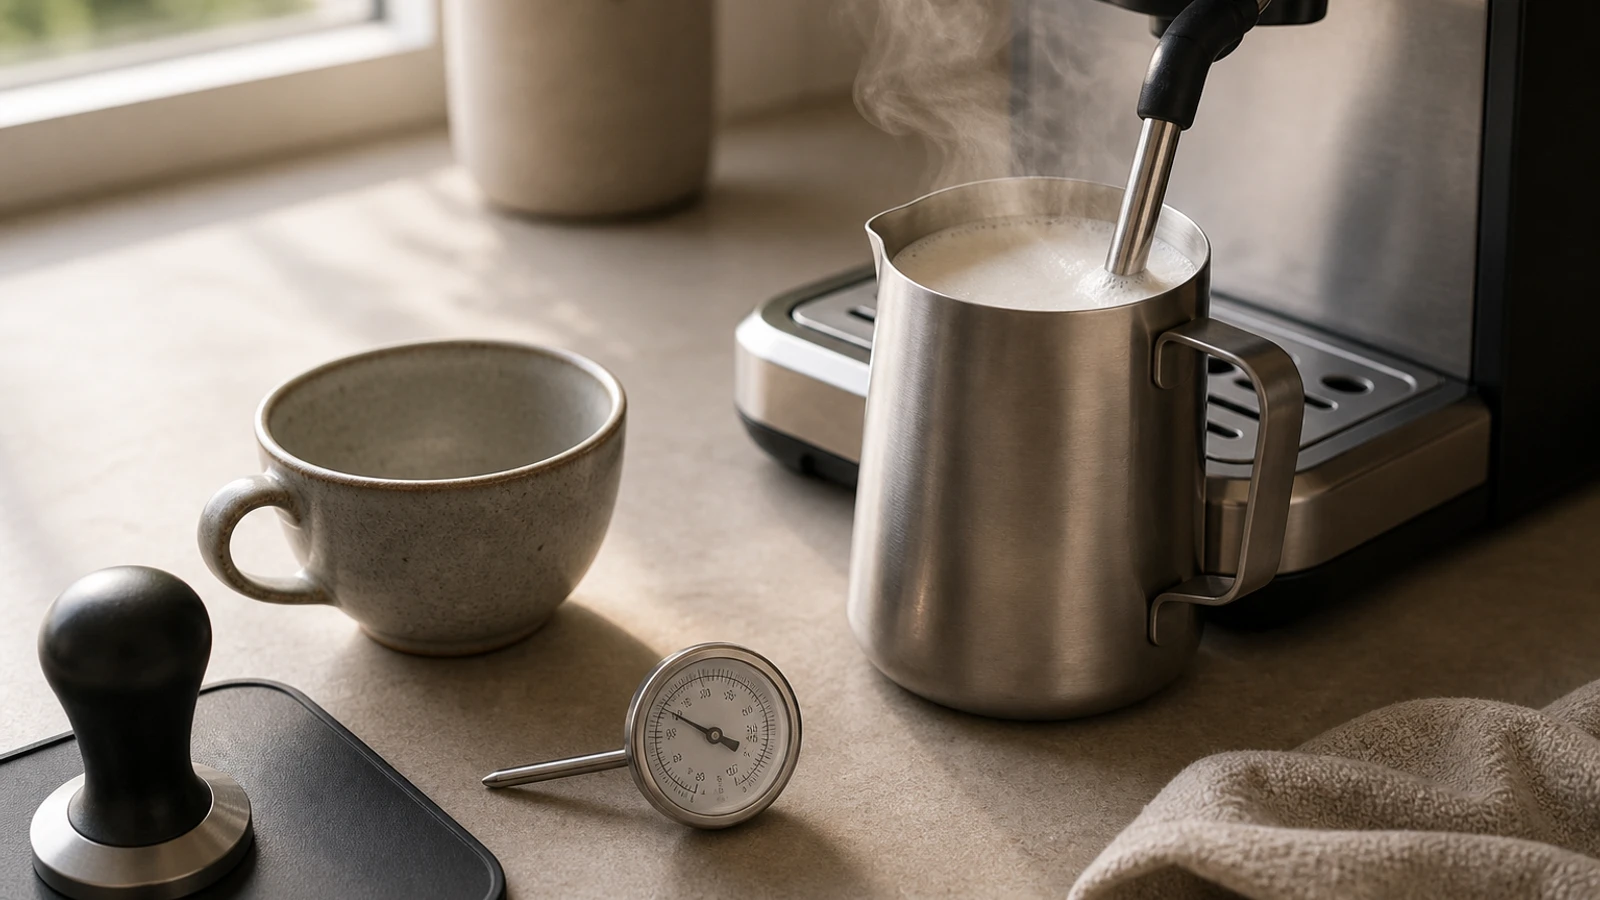
Step 3: Texturing (create vortex)
- Lower the pitcher slightly so the steam wand is deeper in the milk (2–3cm below surface).
- Angle the pitcher at ~15 degrees so the milk swirls in a whirlpool vortex.
- The vortex breaks up large bubbles into microbubbles and incorporates them evenly.
- Continue until thermometer reads 140–150°F (60–65°C) — hot but not boiling.
Step 4: Swirl and pour
- Remove from wand, immediately wipe the wand with a cloth.
- Tap pitcher firmly on counter 2-3 times to pop any surface bubbles.
- Swirl the pitcher in circles to homogenize — you should see glossy, paint-like milk.
- Pour within 30 seconds — microfoam separates if left to stand.
What “too hot” looks like
Milk over 160°F (71°C) scalds — the proteins denature and the flavor becomes bitter/burnt. Your microfoam will also lose its silky texture.
If you can’t hold the pitcher comfortably for 2 seconds, it’s too hot. Restart with fresh cold milk.
The pitcher position details
Stretching: wand tip just barely submerged. You want the tip to actually touch air surface intermittently — that’s the sound creating the tiny bubbles.
Texturing: wand tip deep enough that no air enters. 2–3cm below surface, angled.
The transition between the two phases (around 100°F) is the single hardest part of milk steaming. Beginners often over-stretch (too much foam) or under-stretch (not enough volume).
Milk type differences
Whole milk (3.5% fat) — easiest
Fat helps create stable microfoam. Whole milk is what cafes train on. Stretches well, textures beautifully, holds shape for latte art.
2% milk
Workable but slightly less stable foam. Bubbles pop faster.
Skim milk — hardest
Very little fat means very unstable foam. Professional baristas struggle with skim. For home use, avoid if possible.
Oat milk (barista blend) — second easiest
Oat barista blends are specifically engineered to foam well. Very close to whole milk performance. Oatly Barista, Minor Figures, Califia Farms Barista all excellent.
Soy milk (barista blend) — workable
Similar to oat but less forgiving. Specific barista blends required.
Almond / coconut / cashew — difficult
Generally produce stiff, dry foam rather than silky microfoam. Not recommended for latte art.
Common mistakes
Milk ends up watery (no foam at all)
Cause: you submerged the wand too deep during stretching phase. Never heard the “sss” sound.
Fix: start the wand tip higher, right at milk surface.
Milk has giant bubbles (dry foam)
Cause: you stretched too long or too shallow.
Fix: shorter stretching phase (3 seconds not 5), then submerge for texturing.
Milk burns / tastes bitter
Cause: temperature exceeded 160°F.
Fix: use thermometer; stop at 145°F for lattes, 140°F for cappuccinos.
Milk separates after pouring
Cause: poor texturing. Bubbles weren’t integrated.
Fix: longer texturing phase with deeper wand position. The vortex should last 10+ seconds.
Latte art doesn’t form
Cause: milk texture wrong, OR pouring too high, OR espresso too thick/thin.
Fix: pour 1 inch from cup for filling, then lower to 0.5 inch for surface art. Milk should be shiny.
By drink type
| Drink | Foam amount | Pour height |
|---|---|---|
| Flat white | Minimal, barely visible | Very low, 1–2cm |
| Latte | Medium, ~1cm on top | Low for art |
| Cappuccino | More foam, ~1–2cm | Higher, allows dry foam |
| Macchiato | Small dollop | Traditional: just a mark |
Troubleshooting by machine type
Single boiler (Gaggia Classic Pro, Barista Pro)
Machine must switch between brew temp (200°F) and steam temp (280°F). Wait 30–60 seconds after pulling shot before steaming. Milk quality is fine once machine reaches steam temp.
Dual boiler (Profitec Go, etc.)
Brew and steam simultaneously. No wait time. Best for back-to-back drinks.
Thermoblock steam
Lower steam power than boiler machines. Takes longer to heat milk (30–40 seconds vs 15–20). Quality is similar but timing is slower.
Frequently asked questions
- What's the ideal milk temperature for lattes?
- 140–150°F (60–65°C). Below 140°F, the drink feels cool too fast. Above 150°F, milk tastes scalded. Some baristas go to 155°F for larger drinks where heat loss in pouring matters.
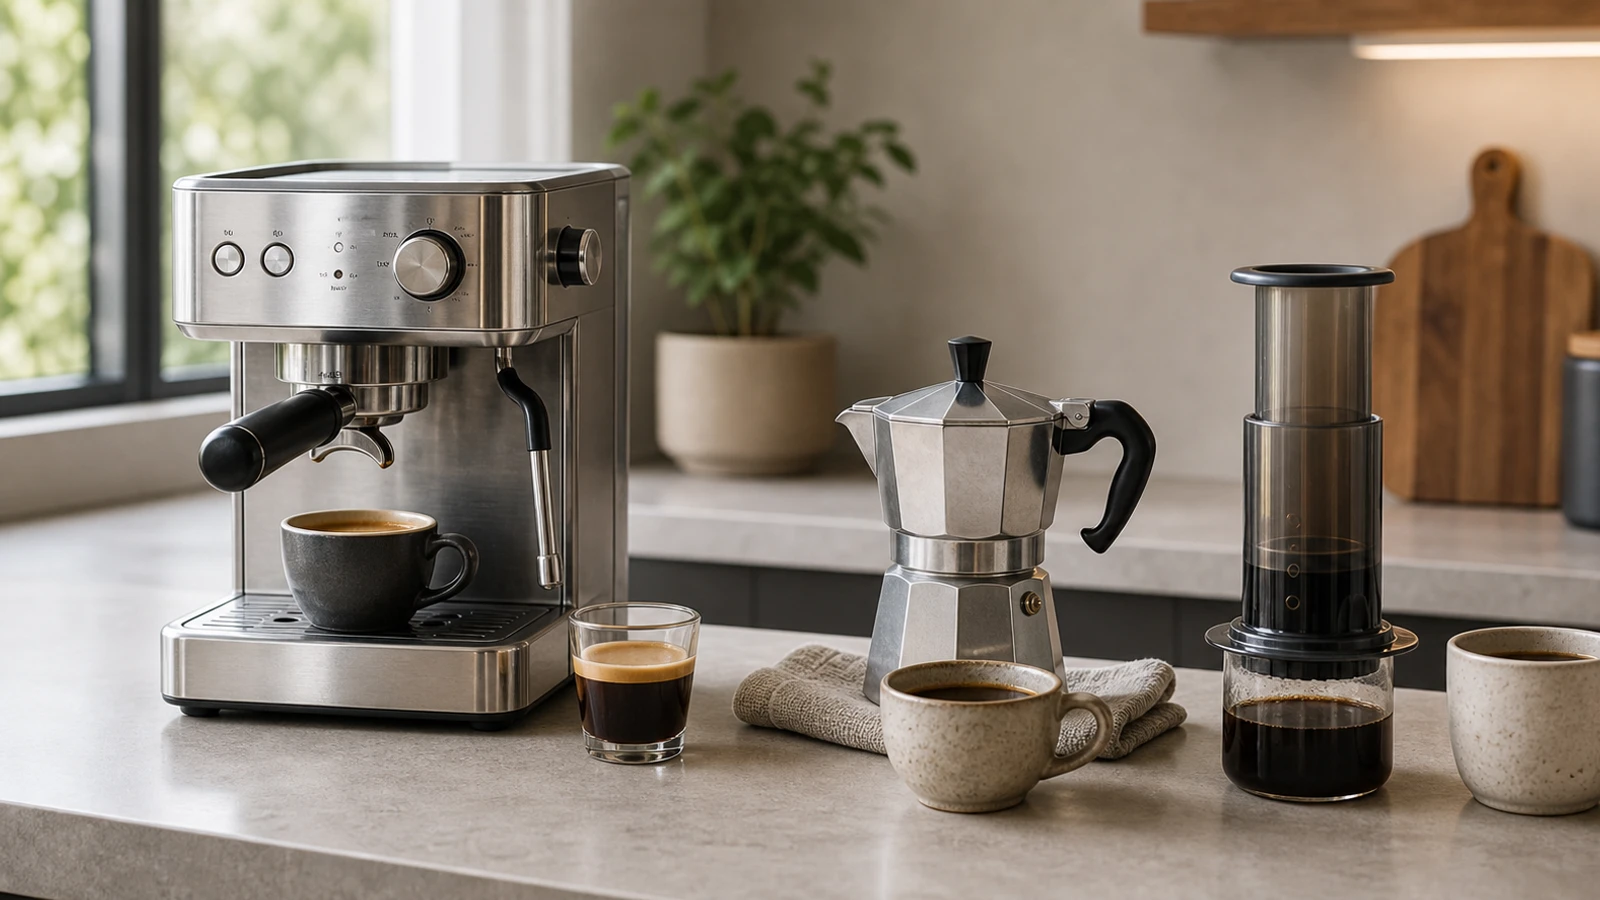
- Can I steam milk without an espresso machine?
- Yes, via separate milk frother (Breville Milk Cafe, Nespresso Aeroccino, electric handheld wand). Quality is below espresso-machine steam but acceptable for home lattes. Manual French press milk frothing also works in a pinch.
- Why is my milk flat / not foaming?
- Most common causes: wand submerged too deep (never heard the air-suck sound), milk already warm when you started, skim milk or non-barista-blend plant milk. Start with cold whole milk and keep wand tip right at surface during first phase.
- How long should steaming take?
- 15–25 seconds for single-cup pitchers (6–8oz). Beginners: time your first few sessions. If you're taking 40+ seconds, your steam wand may be underpowered — which is normal on budget machines.
- What's the difference between microfoam and regular foam?
- Microfoam has bubbles under 0.5mm — individual bubbles aren't visible, the whole mixture looks glossy and paint-like. Regular foam has visible bubbles and dry texture. Microfoam integrates with milk; regular foam sits on top.
- Why does cafe milk taste better than home milk?
- Three factors: (1) cafe steam wands produce 3–5× more power, (2) baristas make 50+ cups/day of muscle memory, (3) cafes use fresh commercial-grade whole milk daily. At home, match #1 as close as your machine allows, practice for #2, use fresh whole milk for #3.
Sources and further reading
- James Hoffmann: Milk Steaming Videos
- Clive Coffee: Steaming Milk Guide
- Barista Hustle: Milk Textures
- Related: Best Espresso Machines Under $1,000 · How to Dial In Espresso
Last updated May 25, 2026. See our editorial policy for methodology.
The Signal Brief
One useful dispatch each week.
One sharp take, three things worth reading, and the week's buying signals.