Espresso
How to Make a Latte at Home (Without the Cafe Bill)
Real cafe-quality lattes at home cost $0.50 each. Here's the full technique: the espresso, the milk, the pour, and the latte art basics.
A latte is the most popular cafe drink in America: espresso, steamed milk, and a thin layer of microfoam. It costs $5–7 at Starbucks. At home, with the right equipment, it costs about $0.50 per drink — and it can taste as good as or better than the cafe version.
The technique isn’t hard, but it has a dozen details that separate “drinkable” from “exceptional.” Here’s the complete home latte workflow.
What a latte actually is
A latte (from Italian caffè latte — “milk coffee”) is:
- 1–2 shots of espresso (1–2oz)
- Steamed milk (6–8oz)
- A thin layer of microfoam (~1cm) on top
The ratio is roughly 1:3 espresso to milk, with microfoam distributed throughout but most visible on top.
Related drinks:
- Flat white — less milk (1:2), no or very thin foam layer
- Cappuccino — equal parts espresso, milk, foam (1:1:1)
- Macchiato — espresso with just a spoonful of foam
- Cafe au lait — drip coffee (not espresso) + steamed milk
A latte is more forgiving than a flat white (more milk dilutes espresso errors) but less forgiving than a cappuccino (needs silkier foam).
Equipment needed
Minimum
- Espresso machine with steam wand — or separate milk frother (Breville, Nespresso Aeroccino, etc.)
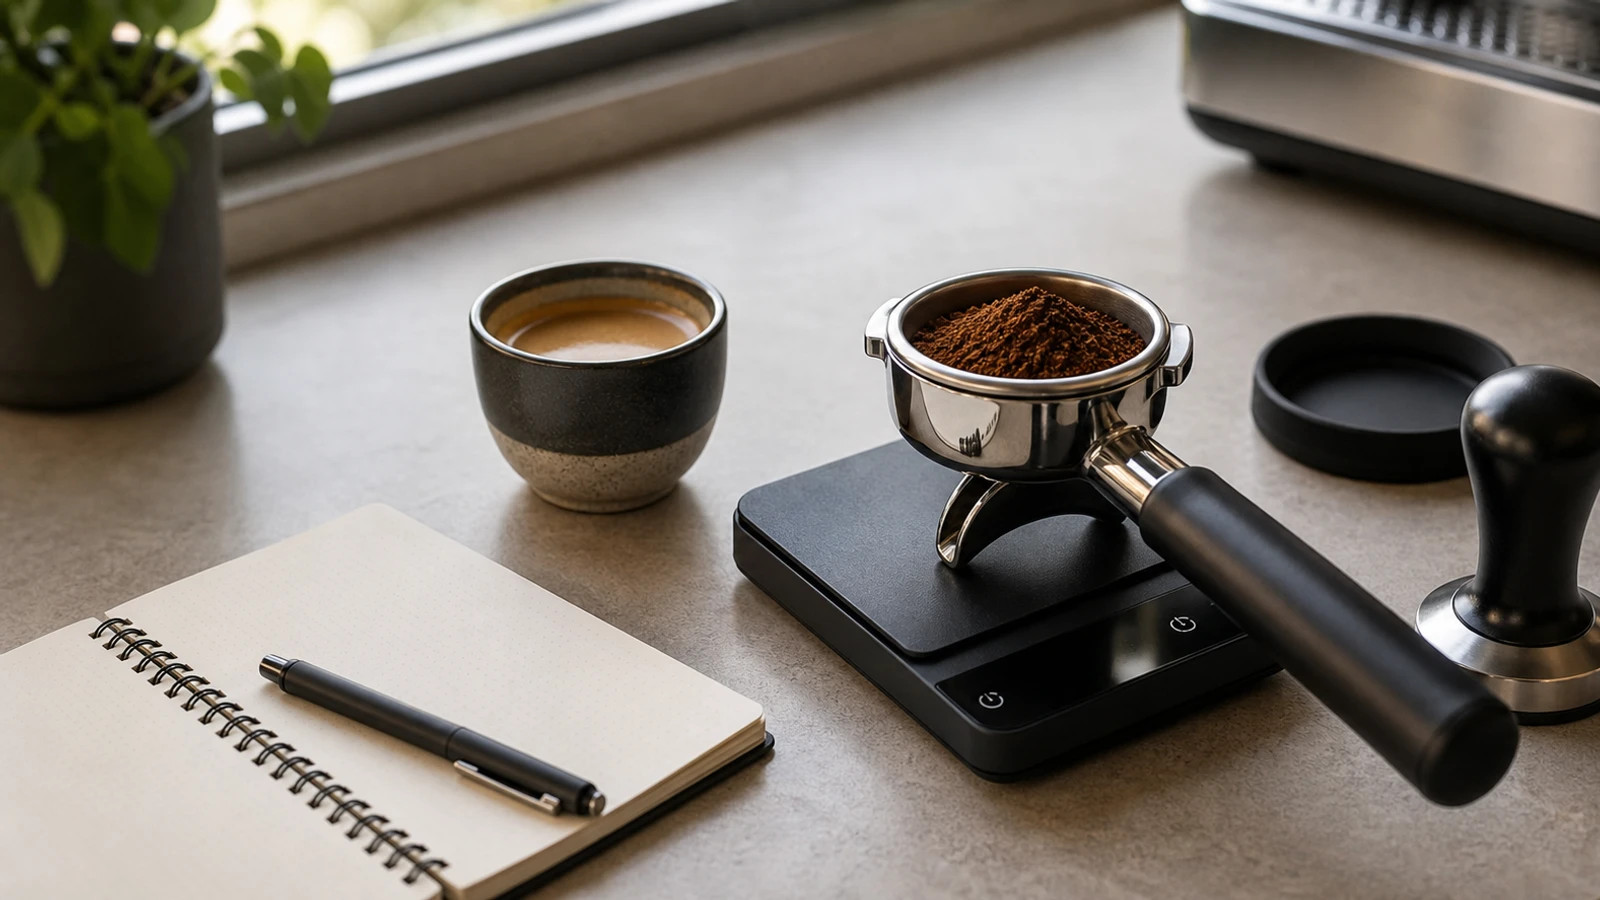
- Coffee grinder — required for real espresso ($150+ recommended)
- 12oz stainless milk pitcher — $15
- Digital scale 0.1g accuracy — $15
- Cold whole milk — from refrigerator
- Fresh espresso beans (7–30 days from roast)
Optional but helpful
- Digital milk thermometer — $10; critical for beginners
- Bottomless (naked) portafilter — for shot diagnostics
- 6oz glass cup — for better crema visibility
- Latte art pitcher with sharp spout — for art
Total startup cost: $400–600 for a functional setup. Each additional latte after that costs $0.30–0.60 (coffee + milk + electricity).
The espresso shot
Your latte starts with espresso. Follow the standard dial-in process until your shots are:
- 18g coffee in (double basket)
- 36g espresso out (ratio 1:2)
- 25–32 seconds from pump start to target weight
- Tastes balanced — sweet, slight bitter, some acidity, rich
For lattes specifically, pull shots that taste slightly bold — on the stronger side of balanced. Milk mellows harshness, so a pure-shot-delicious shot often tastes weak when mixed with milk.
If you’re making a single-shot latte, halve the dose (~9g in → 18g out). Single shots with lattes are less common — most home baristas make doubles.
The milk
Choose whole milk (3.5% fat)
Whole milk is what cafes use for a reason. Fat stabilizes microfoam and adds body. Lower-fat milks (2%, skim) foam less stably and the resulting latte tastes thinner.
Alternative for dairy-free: Oat barista blends (Oatly Barista, Minor Figures, Califia Barista) approach whole milk performance. Almond, coconut, cashew generally don’t work well — stiff foam, not microfoam.
Start cold
Milk must start cold (fridge temperature, ~40°F / 4°C). Warm milk doesn’t stretch into microfoam — the proteins are already partially relaxed.
Pitcher size
For a 6oz latte:
- Milk amount: ~5oz (6oz cup gets 5oz milk + 1oz espresso)
- Pitcher: 12oz (fill 1/3 to 1/2)
Never fill the pitcher more than 2/3. You need air space above the milk for stretching.
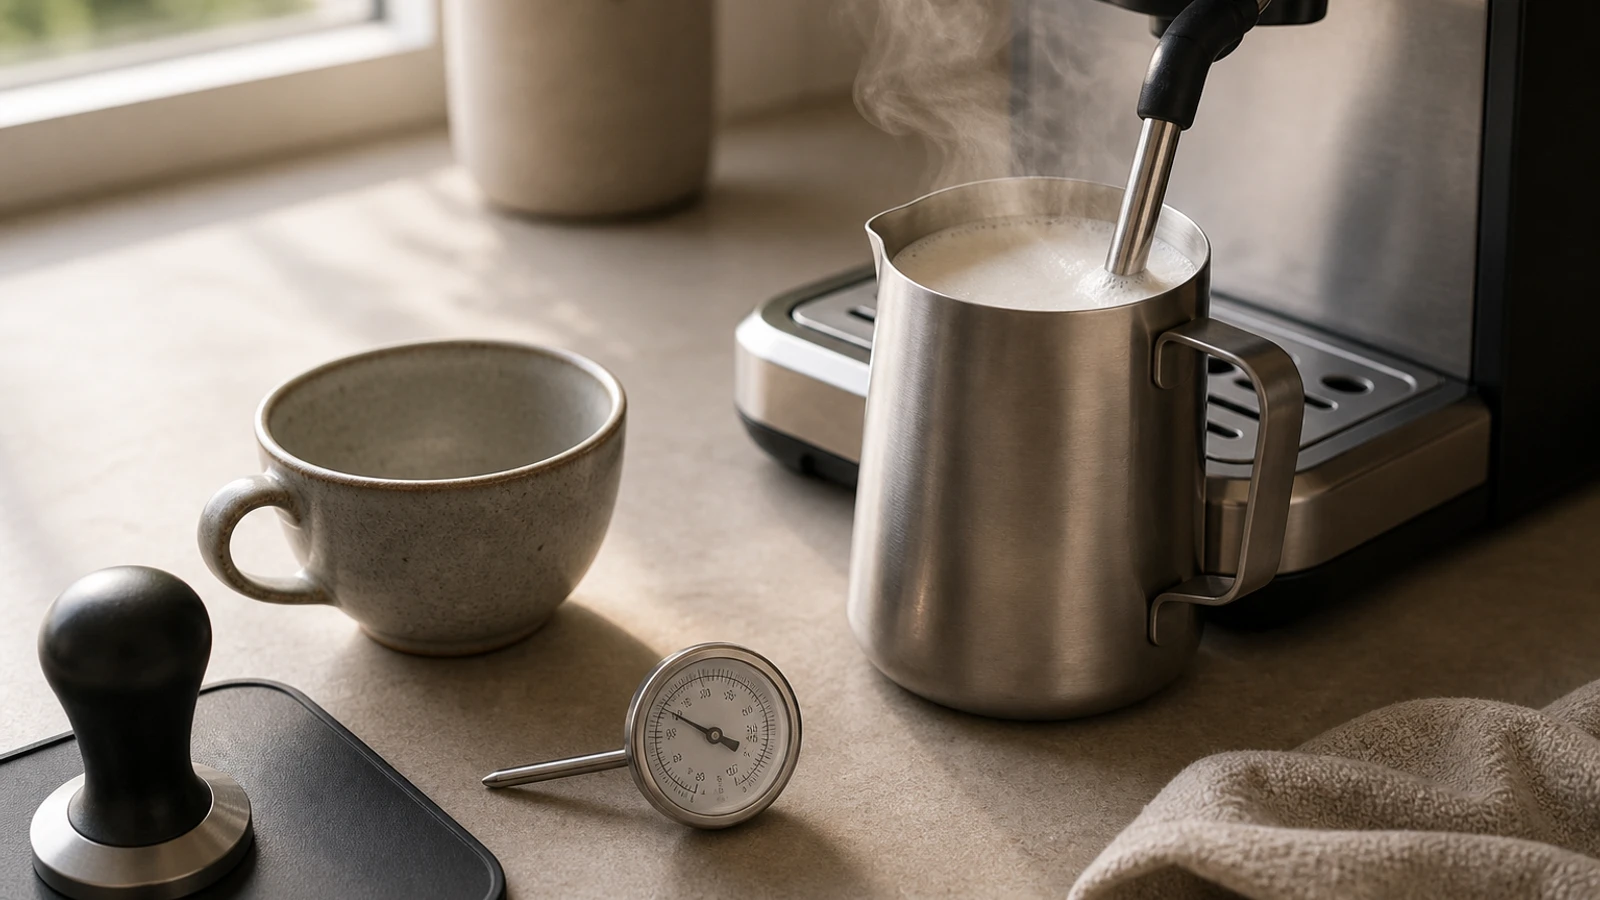
Steaming milk — the two phases
Phase 1 — Stretching (create foam)
- Submerge wand tip just below milk surface
- Turn steam to full
- You should hear a gentle “ssss” sound — that’s air incorporating
- Continue 3–5 seconds
- Stop when milk reaches ~100°F (38°C)
Phase 2 — Texturing (create microfoam vortex)
- Lower pitcher so wand is deeper (2–3cm below surface)
- Angle pitcher 15° so milk swirls in a vortex
- Continue until milk reaches 140–150°F (60–65°C)
After steaming
- Wipe wand immediately with wet cloth
- Tap pitcher firmly 2–3 times on counter (pops large bubbles)
- Swirl pitcher in circles to homogenize
- Pour within 30 seconds — microfoam separates if it sits
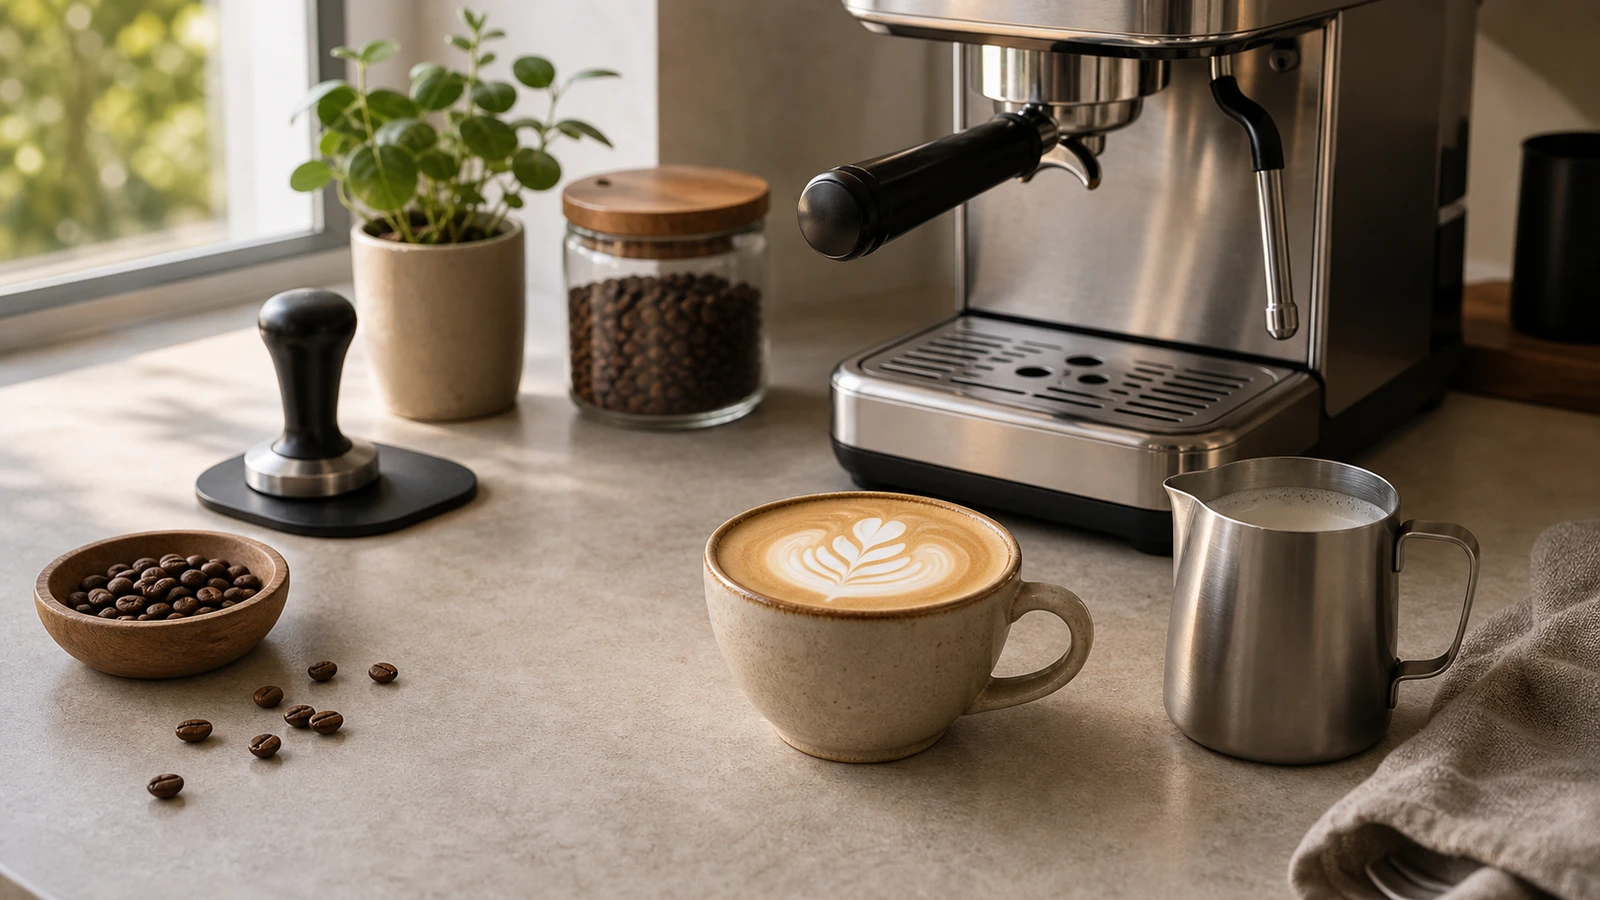
The pour
This is where a latte becomes distinct from just espresso + milk.
Step 1 — Fill phase
- Hold pitcher 1 inch above the cup
- Pour into the center of the espresso
- Fill the cup to about 2/3 full
- The espresso should still be visible at the surface
Step 2 — Art phase (optional)
- Drop the pitcher height to 0.5 inch above cup
- Now the microfoam will float on the surface
- Pour steadily, rocking the pitcher side to side to create lines
- As you finish, draw the pitcher across the surface to create a leaf or heart pattern
Step 3 — Drink within 60 seconds
Microfoam degrades quickly. A perfect pour at 30 seconds looks half as good at 3 minutes.
Common mistakes
Milk is watery (no foam)
Cause: wand submerged too deep during stretching; never heard “sss” sound. Fix: start with wand tip barely below milk surface.
Milk has giant bubbles (dry foam)
Cause: stretched too long (more than 5 sec) or wand too shallow. Fix: shorter stretching, then submerge deeper for texturing.
Latte art doesn’t form
Cause: milk is wrong texture, OR pouring too high, OR espresso too thick/thin. Fix: pour 1 inch high for filling, 0.5 inch for art. Milk should be shiny, paint-like.
Latte tastes bitter
Cause: over-extracted espresso, scalded milk (>160°F), or dirty machine. Fix: check espresso extraction; use thermometer (stop at 145°F); clean portafilter after every shot.
Latte tastes watery / weak
Cause: under-extracted espresso, or too much milk in ratio. Fix: grind finer for espresso. Reduce milk from 6oz to 4oz.
Ratio variations
Classic latte (1:3)
- 2oz espresso, 6oz milk, thin foam
- Medium body, balanced
Strong latte (1:2.5)
- 2oz espresso, 5oz milk
- Bolder espresso flavor, still creamy
Cortado (1:1)
- 2oz espresso, 2oz milk
- Spanish style, espresso-forward
Flat white (1:2)
- 2oz espresso, 4oz milk, very thin foam
- Less foam than latte, more espresso-forward
Flavored lattes (honest take)
Starbucks-style flavored lattes are made by:
- Pumping flavored syrup into the cup (2 pumps = 20ml)
- Adding espresso
- Adding steamed milk
At home, the quality upgrade from a cafe flavored latte is significant — Starbucks uses flavored syrup that masks low-grade espresso. At home, your espresso quality shows through.
Flavor suggestions:
- Vanilla — classic, accessible. Monin or Torani syrups ($12/bottle).
- Hazelnut — aggressive but classic.
- Caramel — sweet, filling. Better if you drizzle on top.
- Seasonal — pumpkin spice, gingerbread, peppermint — all work but decrease espresso quality perception.
Budget comparison
Cafe latte (Starbucks)
- Price: $5.00
- Time: 8 minutes waiting + transport
- Quality: 6/10 (depends on store, barista, milk freshness)
- Annual cost for 1/day: $1,825
Home latte
- Price: $0.50–0.70 (espresso beans + milk + electricity)
- Time: 3 minutes
- Quality: 7/10–9/10 depending on skill
- Annual cost for 1/day: $180–255
- Savings: $1,500–1,700/year
Break-even math
- $500 setup / $1,500 annual savings = 4 months
- After month 4, you’re saving money. After year 1, you’ve saved $1,200+.
Beyond the basic — upgrading your latte game
Once you’ve mastered the basics:
- Learn latte art — hearts first (easiest), then leaves, then rosettas. YouTube tutorials help.
- Try different beans — light roast single origins for espresso create dramatically different latte flavor profiles.
- Tune milk precisely — 145°F for lattes, 140°F for flat whites (keeps milk sweeter).
- Master pitcher angle — affects pour thickness, which affects art visibility.
- Practice on flat whites — harder to pour well, teaches fundamentals.
Frequently asked questions
- How long does it take to make a latte at home?
- 3–4 minutes total: 30 seconds grinding, 30 seconds prepping portafilter, 30 seconds pulling the shot, 30 seconds steaming milk, 60 seconds pouring and drinking. Faster than driving to Starbucks once you're practiced.
- What's the ideal milk-to-espresso ratio for a latte?
- 1:3 is the most common (1 part espresso, 3 parts milk). Many people prefer 1:2.5 for a stronger drink. Flat whites are 1:2. Pick based on how much coffee flavor you want.
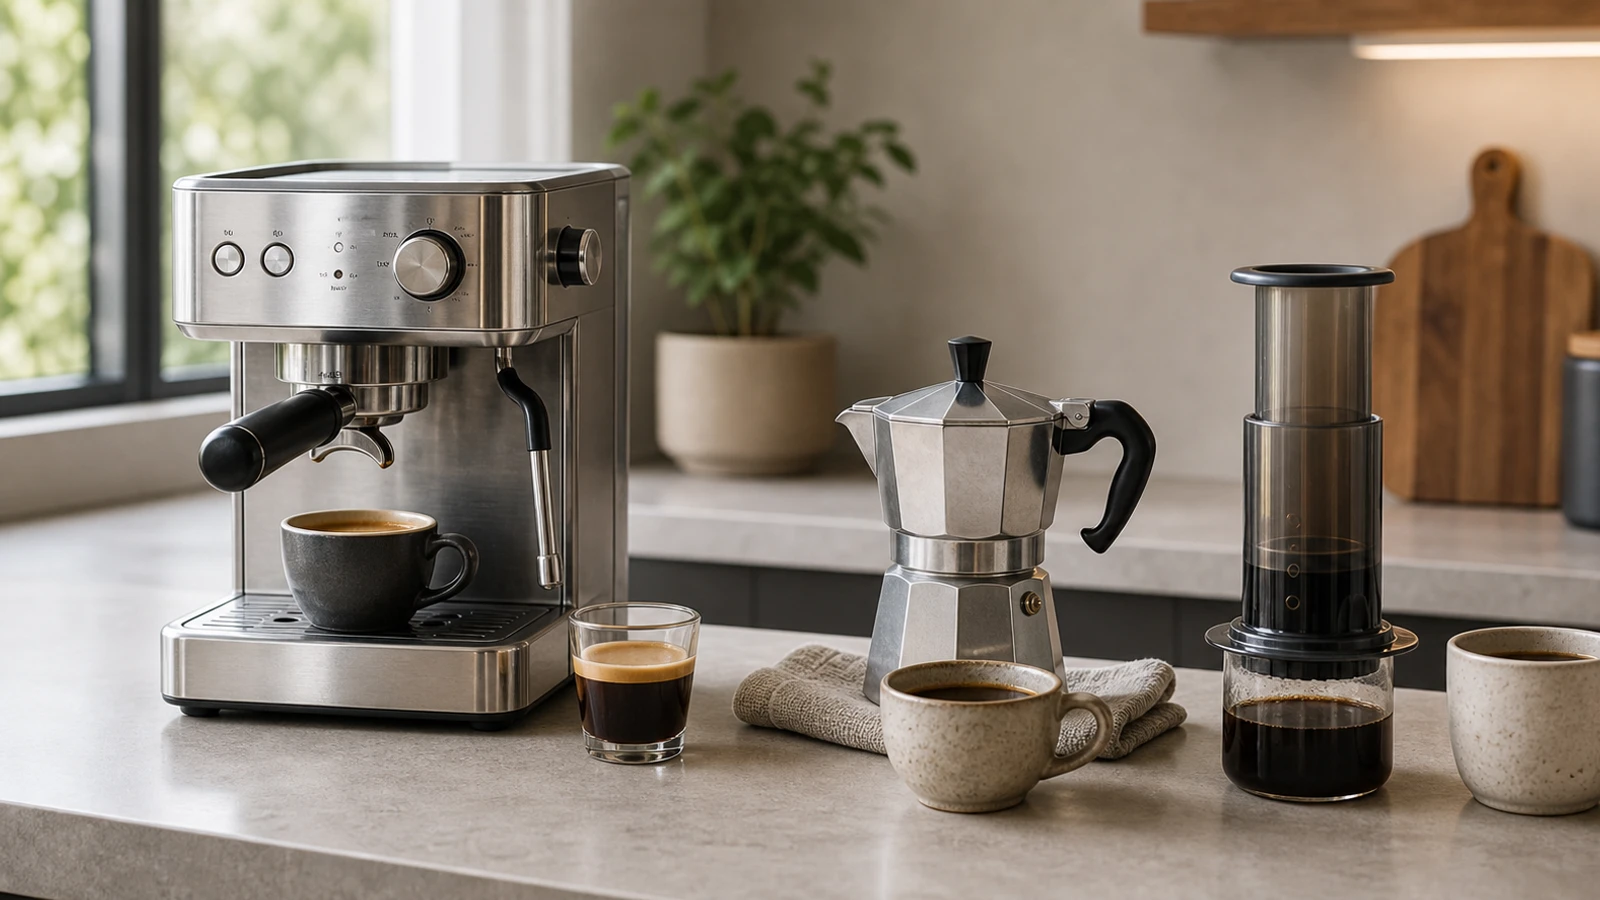
- Can I make a latte without an espresso machine?
- You can make a latte-like drink with Moka pot + milk frother, Aeropress + frother, or Nespresso + frother. Real espresso (9 bar) produces the distinctive latte texture and flavor, so the result will be different from a true latte — but often still enjoyable.
- What temperature should latte milk be?
- 140–150°F (60–65°C). Below 140°F feels cold quickly. Above 150°F scalds milk proteins, creating bitter taste. Some baristas go to 155°F for larger drinks where heat loss in pouring matters.
- Oat milk vs whole milk for lattes?
- Whole milk is still slightly better for texture and traditional latte flavor. Oat barista blends (Oatly, Minor Figures, Califia) are a close second — 90% of whole milk performance. For plant-based drinkers, oat is by far the best option. Skim, almond, coconut generally underperform.
- How do I make latte art?
- Proper microfoam + steady pour + correct pitcher height. Fill phase: 1 inch above cup, pour center. Art phase: drop to 0.5 inch, pour while rocking pitcher. Hearts are easiest; leaves and rosettas require more practice. Expect 50+ pours before your first recognizable heart.
Sources and further reading
- James Hoffmann: Latte Techniques
- Clive Coffee: Latte Guide
- Barista Hustle: Milk Science
- Related: Best Budget Espresso Machines · Best Super-Automatic Espresso Machines · Espresso guides
Last updated April 23, 2026. See our editorial policy for methodology.
The Signal Brief
One useful dispatch each week.
One sharp take, three things worth reading, and the week's buying signals.